
If you somehow landed here and missed part 1, here’s the link so you know how I would approach studying for the theory exam.
My one-sentence advice would be: maximise your chances… and now I’ll explain why.
The practice exam consists in blind tasting two wines, and describing them using the WSET’s SAT method.
At this level, you are NOT meant to identify which wine is it or which grapes was it made with. You’re just meant to describe it in terms of flavours, aromas and other variables such as levels of sweetness or acidity.
What each person perceives is slightly different, so the goal of the course is to help you “calibrate” your senses while tasting many wines alongside the teachers, so that you can describe things in the same way as they do. Thus when they give you the exam wines to taste, both you and them can agree on what they are like. Otherwise it would be impossible to compare tasting notes!
In the exam, you have to fill two SAT “cards”, one per wine. Each section of the “card” you fill can earn you up to a given amount of marks, but it’s important to remember that in most of the sections you don’t need to get all the marks in one section right to get some marks. Much like in the theory exam, it’s not all or nothing—there’s some granularity.
When the wines are uncorked before the exam, a teacher will taste the wines and fill in their SAT cards, just like the ones you will be asked to complete. This forms the rubric against which your answers will be compared.
Maximising your chances
And here comes what confused me deeply at the beginning: each cluster contains more than one descriptor (e.g. in green fruit you have green apples, green pears, gooseberry, grape, etc…) but you don’t know exactly which descriptors from the cluster the school have written in the rubric.
For example, suppose that you can only really notice pears, and so you write “green pears”. If the rubric had “green apples, green pears” you have missed one mark. Just like that! Even if you literally cannot taste the apples.
So what people do to maximise their chances is to list more notes than they might be truly tasting. You can’t know for sure what the examiner has detected, but it’s likely that if you notice “pears” someone else might also notice “apples” (or just “apples” and not “pears”). “Apples and pears” would maximise your chances.
Thus you’re trained during the course, in a bit of a Pavlovian way, to react quickly: if you think you can smell “apples”, then write down “pears” too. Any sort of flower? Blossom. Cherry? Plum. Oak? You’d better start writing down “vanilla, cloves, toast, smoke” like your life depends on it!
It looks a bit silly, but if you think about this, it goes back to what I wrote at the beginning: different people might notice things differently. You want to widen the spectrum of answers you provide to make sure you don’t accidentally miss marks by being too specific.
I’ll admit I really struggled with this at the beginning: “How can they taste all these things?”, I wondered, “… surely they’re making it up?”. Yes (and no, as we’ve seen).
To achieve the maximum “making it up” mystique about you and drive other students like me bananas, I advise you to memorise each of the aroma and flavour clusters. I did this using flash cards, as I mentioned in the previous post about the theory exam. Doing this equips you to erupt into an instant enumeration of descriptors as soon as you think you can detect a cluster—maximum mark probability!
A very important thing to take into account is that wrong answers do not deduct marks. But be reasonable! A teacher said something like “well, if you list all of the clusters maybe we will suspect you don’t really know what you’re tasting…” (and you can complete the rest of the sentence).
Don’t (accidentally) lose marks
The piece of paper you’ll be given to enter your answers has sections for you to fill in, similar to the cards you’ve been filling in the workbook during the course, but it does not show the complete structure of the SAT.
And so you might forget to answer things such as “Development” (and it’s so easy to do because it’s just a little line at the end of a section).
To avoid accidentally forgetting to answer something and losing a mark, you should memorise the structure, and then, in a really boring and methodical way, iterate through the sections as you taste each wine.
I etched this list in my brain:
- Appearance
- Nose = IAD
- Palate = SAcTAlBFintFinish
- Quality = BLIC
- Readiness for drinking
I had it written on a piece of paper that I had on my desk all the time, so I kept eyeing it from time to time.
I faithfully wrote down the acronyms for each sample I tasted in the workbook (or the whole list, for samples I tasted outside of the class).
Sometimes I even read it aloud (try saying SAcTAlBFintFinish! it’s fun!).
At the end I could remember the whole list without looking at any clue or hint!
This is super important because if you forget to answer things like “Development” (and it’s so easy to do because it’s just a little line at the end of a section) you will miss marks! I bet you don’t want to miss marks!
I also added three subsections (1, 2, 3) to the right for Aromas in Nose and Flavours in Palate. Often I’d give double the space for 1 than to 2 or 3, as there tend to be more primary aromas than not.
This is how my “skeleton” answer would look like:
| Appearance | ||
| Nose | Intensity: Aromas: –> Development: | 1 …………………………………………………. 2 3 |
| Palate | Sweetness: Acidity: Tannins: Alcohol: Body: Flavour intensity: Finish: | 1 2 3 |
| Quality | Balance: Length: Intensity: Complexity: | |
| Readiness for drinking |
Once I wrote that skeleton, I would go line by line and “fill in the blanks”. I often used abbreviations, e.g. instead of writing “Medium” I’d write “M”.
For the clusters, if any of them felt VERY obvious to me, I immediately wrote the name of the cluster in brackets, e.g. like [red fruits] or [oak] and then would start from the top of the list, expanding the cluster when it was its turn.
Things that aren’t immediately obvious
Intensities that are pronounced are strong, but also precise
In those cases you can pick out each aroma or flavour separately.
It’s like you have an “aroma picker” or “flavour picker” that lets you zoom into every single thing and name it with precision. Do not confuse this with “a strong whiff of alcohol”. We’re looking for strength and precision.
For example, some cheap-ish Chateauneuf-du-Pape wines I tasted made my nose tingle with the amount of alcohol they packed, but I could not tell what exact “black fruit” I could smell. At all! If you were just ranking the wine by the intensity of the “sensation” in your nose, you would have called those “pronounced”, but actually they were more like “Medium —”.
Remember to say if a wine is simple
If you really, truly, can’t pick out more than one or two clusters and that’s even being generous, and can’t even pick out exactly which aromas are in each cluster (i.e. a medium or light intensity), maybe it’s a really simple wine and you should describe it as such in the description.
Simple red wines sometimes have a touch of oak, but it just smells of “wood” or “smoke”, i.e. not a very complex addition (maybe it came from chips or staves). A couple of primary fruits and a bit of oak is “simple” by any other name!
I struggled to determine this at the beginning, but the more wines you taste, the easier it’ll become.
The algorithms: they help
At the classroom, and specially at the beginning, I heard some hesitant answers from fellow students about what the development of the wine we were tasting was.
Sometimes it sounded like people were picking it up from thin air, or just sort of answering something and hoping it’d be alright, just by chance. They’d answer with a question which didn’t show much decisiveness: Youthful? Developing? Developed?
There’s actually a logical way of answering this: either the wine has spent enough time to develop tertiary aromas and we can determine the level of development and it is developing or developed, or it hasn’t spent any/sufficient ageing time, and it has not developed at all, hence it is youthful.
Or if you follow this pseudo algorithm:
if the wine does not have tertiary clusters then
    the wine is youthful
else
    if the wine has primary clusters then
        the wine is developing
    else
        the wine is developed
And that’s why you are meant to answer the Development subsection once you have identified your aromas. The development is a prediction based on the observations.
The amount of development is in fact not directly proportional to the amount of ageing time. Some wines which aren’t very concentrated will age really quickly and seem way older than older wines, ageing time being the same.
Just like we’re not meant to identify the grapes used in the making of the wine, you’re not meant to guess how old the wine is. You’re just meant to assess how developed it is.
Similarly, you can describe the amount of alcohol in a wine by following a series of “if statements”:
if wine feels like water then
    alcohol = 'light'

else if wine feels like a watery wine then
    alcohol = 'medium-'

else if wine feels like an average wine then
    alcohol = 'medium'

else if wine feels like it burns your mouth a bit then
    alcohol = 'medium+'

else if wine feels like a digestive or hard liquor then
    alcohol = 'high'
This is something that you calibrate during the course; I was terrible at the beginning!
When unsure between ‘Medium’ and ‘Medium+’, some people would test if it truly burns by swallowing a bit of wine. It seems for some people the burn sensation is experienced at the back of the throat! For me, it was on the gums and the inside of the cheeks: and that’s why you want to practice a lot until you figure out how to associate what you’re noticing with the levels you’re meant to identify.
And to determine the body, a “rule of thumb” is that it is essentially set by the alcohol level, and then adjusted by the amount of tannins. Or in pseudocode:
body = alcohol

if(tannins == 'medium+' or tannins == 'high') then
    body += tannins
Thinking in this way was really helpful as I personally struggle to feel if a liquid is “thinner than milk on your tongue” or not, which is what we were told to do in Level 2.
Apparently alcohol is more viscous than water, so it increases the “heaviness” of the liquid. And tannins can also increase the sensation of “friction”.
It is expected that you write the same flavours in Palate as aromas you listed in Nose
Sometimes I would taste some flavours that I did not smell: this happened with a couple of wines that had slightly bittery, subtle herbaceous notes. For some reason it was my tongue that picked those up, not my nose. You’re expected to go back and add them to the aromas section!
Likewise sometimes I could smell some things that I could not taste—this happened often with aromatic wines which have a strong floral component that doesn’t translate into actual floral flavours. In those cases you could set the flavour intensity as the nose intensity, but reduced one notch down. E.g. you’d have “Nose = pronounced intensity” and “Palate = Medium+ intensity”.
I think I never saw it the other way round (i.e. more intensity on the palate than on the nose).
Things can smell sweet, but not necessarily taste sweet
This can totally trip you, as it totally tripped me at the beginning.
I find this happens more with highly floral or tropical notes. Maybe because we associate the smell of ripeness and flower nectar with sweets, and so our brain gets confused (or starts anticipating way too eagerly—at least I do when I smell sweet ripe peach!)
As with the other descriptors, you get to develop the skill of correctly identifying the sweetness level by tasting many wines during the course, but if you’re unsure, the usual trick is to dip your tongue in the liquid and see if it tastes sweet, regardless of the smells.
The readiness for drinking is like a second “Development” judgment
Remember that we determined the “Development” based on what we had noted for aromas? Well, the Readiness for drinking is determined in a very similar way.
For wines to be ageable, they have to have enough concentration of flavours and other characteristics like tannins or acidity so they can evolve and stand the passage of time without the wine becoming flabby or faulty.
So once you fill in the “Palate” section, you can… (you guessed it right!) follow another algorithm to determine the ageability and drinkability of the wine:
if the intensity <= medium then
    readiness = 'drink now, not suitable for ageing'
else if (the intensity >= medium+ and (acidity >= medium+ or wine has tannins and tannins >= medium)) then
    readiness = 'can drink now, but it's suitable for further ageing'
Arguably we’re missing two values here: ‘too young’ and ‘too old’. We never tasted any of those, so I haven’t included them in my “mental algorithm”!
A wine that is too young would perhaps be really full of unripe tannins at a very high concentration, and it would also perhaps be a really expensive Bordeaux en primeur that needs ageing for 10 years before it’s ready to drink, so the school would not pay for students to waste that on a tasting.
A wine that is too old would have just tertiary flavours, a faded intensity and could even have developed faults such as excessive oxidisation, cork fault or even turned into vinegar! The school would not inflict vinegar on their students (I hope!).
Don’t waver, but also: does this follow?
A teacher (who was fantastic) encouraged us to not get stuck. Just answer the questions. Just do it! And then don’t go back. Otherwise you might hesitate and start imagining things that aren’t there.
He summed it up with: “Don’t waver”.
But at the same time he also repeatedly reminded us that “we can check” that we’re going in the right direction.
His One Weird Trick to check that you’re making sense was that if a wine has a long finish it’s highly likely that it’s very good or outstanding, because to get a long finish you need a good concentration of flavours, which you only get in high quality wines.
If you mark something as having a “long finish” but then you marked it as having a “Medium-” intensity, maybe you overestimated or underestimated something! Go back and check.
And likewise, if you marked something as having a “Short” finish but it has a lot of clusters (hence, complexity)… are you sure that makes sense?
So, don’t waver, but if you detect inconsistencies, go back and check you’re making sense!
With this method it was actually quite easy to determine the base “quality” level without having to do arithmetic with fractions for the values you get in the “BLIC” section, which can get a bit too fine grained if you start using 0.25 (M-) or 0.75 (M+) rather than binary 0 or 1 as in Level 2. Instead, you mostly start with the intensity level and adjust up or down based on your judgment.
In the exam I actually used the spare page they gave us to use as scratchpad, and so I wrote everything there in an abbreviated manner, checked that I was making sense, and then expanded my notes into long writing in the exam. A teacher had told us we should have sufficient time to write the whole words and she didn’t want to see any M+ or M-! I didn’t give them any of those.
Practice outside the classroom too
I did a lot of wine tastings at home
I felt that the rhythm in the class was waaaay too fast for me to absorb all the information, specially at the beginning, and I wanted to have the time at home to assess wines individually, and then go back and forth comparing them and finding interesting or outstanding bits about them at my own pace.
I also desperately needed to catch-up with most of the class because about half of them work in the wine industry, and are tasting lots of wines every week. I absolutely had to put in the extra work if I didn’t want to feel like a toddler at high school 😀
It was helpful that we got a set of six ISO glasses on the first day of class, for us to take home. It really makes a difference to have the right shaped glass when it comes to tasting!

So I got a few miniature sized bottles from the supermarket to start with. They were truly unpleasant regardless of their brand or origin, but following the SAT enabled me to systematically describe their awfulnesss, so it was a good way of practising the system without spending “good wines” on it.
I also got a pack of samples from Thirty Fifty. They’re designed for Level 3 so they cover the “essentials” that you should be tasting if you were taking the course with them, which is very helpful. I tried to taste the wines only after I had done each of the sessions in the class, as a way to re-visit each wine style. I had made a spreadsheet listing the wine styles, the corresponding samples and the session, so it was easy to sort things with pivot tables 😏
I suppose it’s due to the re-bottling for the samples, but I rarely found “outstanding” wines in the samples, while we often had “very good “or “outstanding” wines during the in-person classes—there the wines were poured straight from the bottle to our glasses! No idea of how it is when attending a ThirtyFifty course, as I didn’t study with them, but I’d expect the experience would be more like the in-person classes I attended.
We also organised a tasting session in a wine bar with a few classmates but I found it quite challenging, as there was the smell of food in the background, the wines were chilled (so too cold to taste them effectively), and all the loudness of a wine bar, and distractions, made it hard to focus.
Back home, I realised I had not filled some sections such as “development”! My bad!
In retrospect, my favourite setting would have been to be able to try things at home and to also be given the tasting notes so I could compare that I got it right after the fact. Somebody please invent that!
Practice a lot, but also rest your senses
Overall I must have tasted more than 100 wines in these two months. Eventually the technique just becomes “internalised” and the act of tasting starts feeling very familiar, and you can do tastings very quickly, and not wavering!
But you also need to rest if you want to be this effective.
One time I tried to taste a lot of wines at home in a day, but they were really strong ones from Australia, South Africa and the USA, and I felt super “over wined” by the end of tasting the 12th wine, and could barely distinguish anything anymore. It was clearly time to stop!
It was also the case that the last wine I tasted on that session was a Pinotage that somehow disconcertingly smelled of blue cheese. That wasn’t the high note I was hoping to finish on, to be very honest!
Go for safe, go for bland
This is somehow related to resting your senses: be careful with spicy hot food, with biting your tongue and more importantly, with having strongly flavoured long-lasting foods before a tasting session!
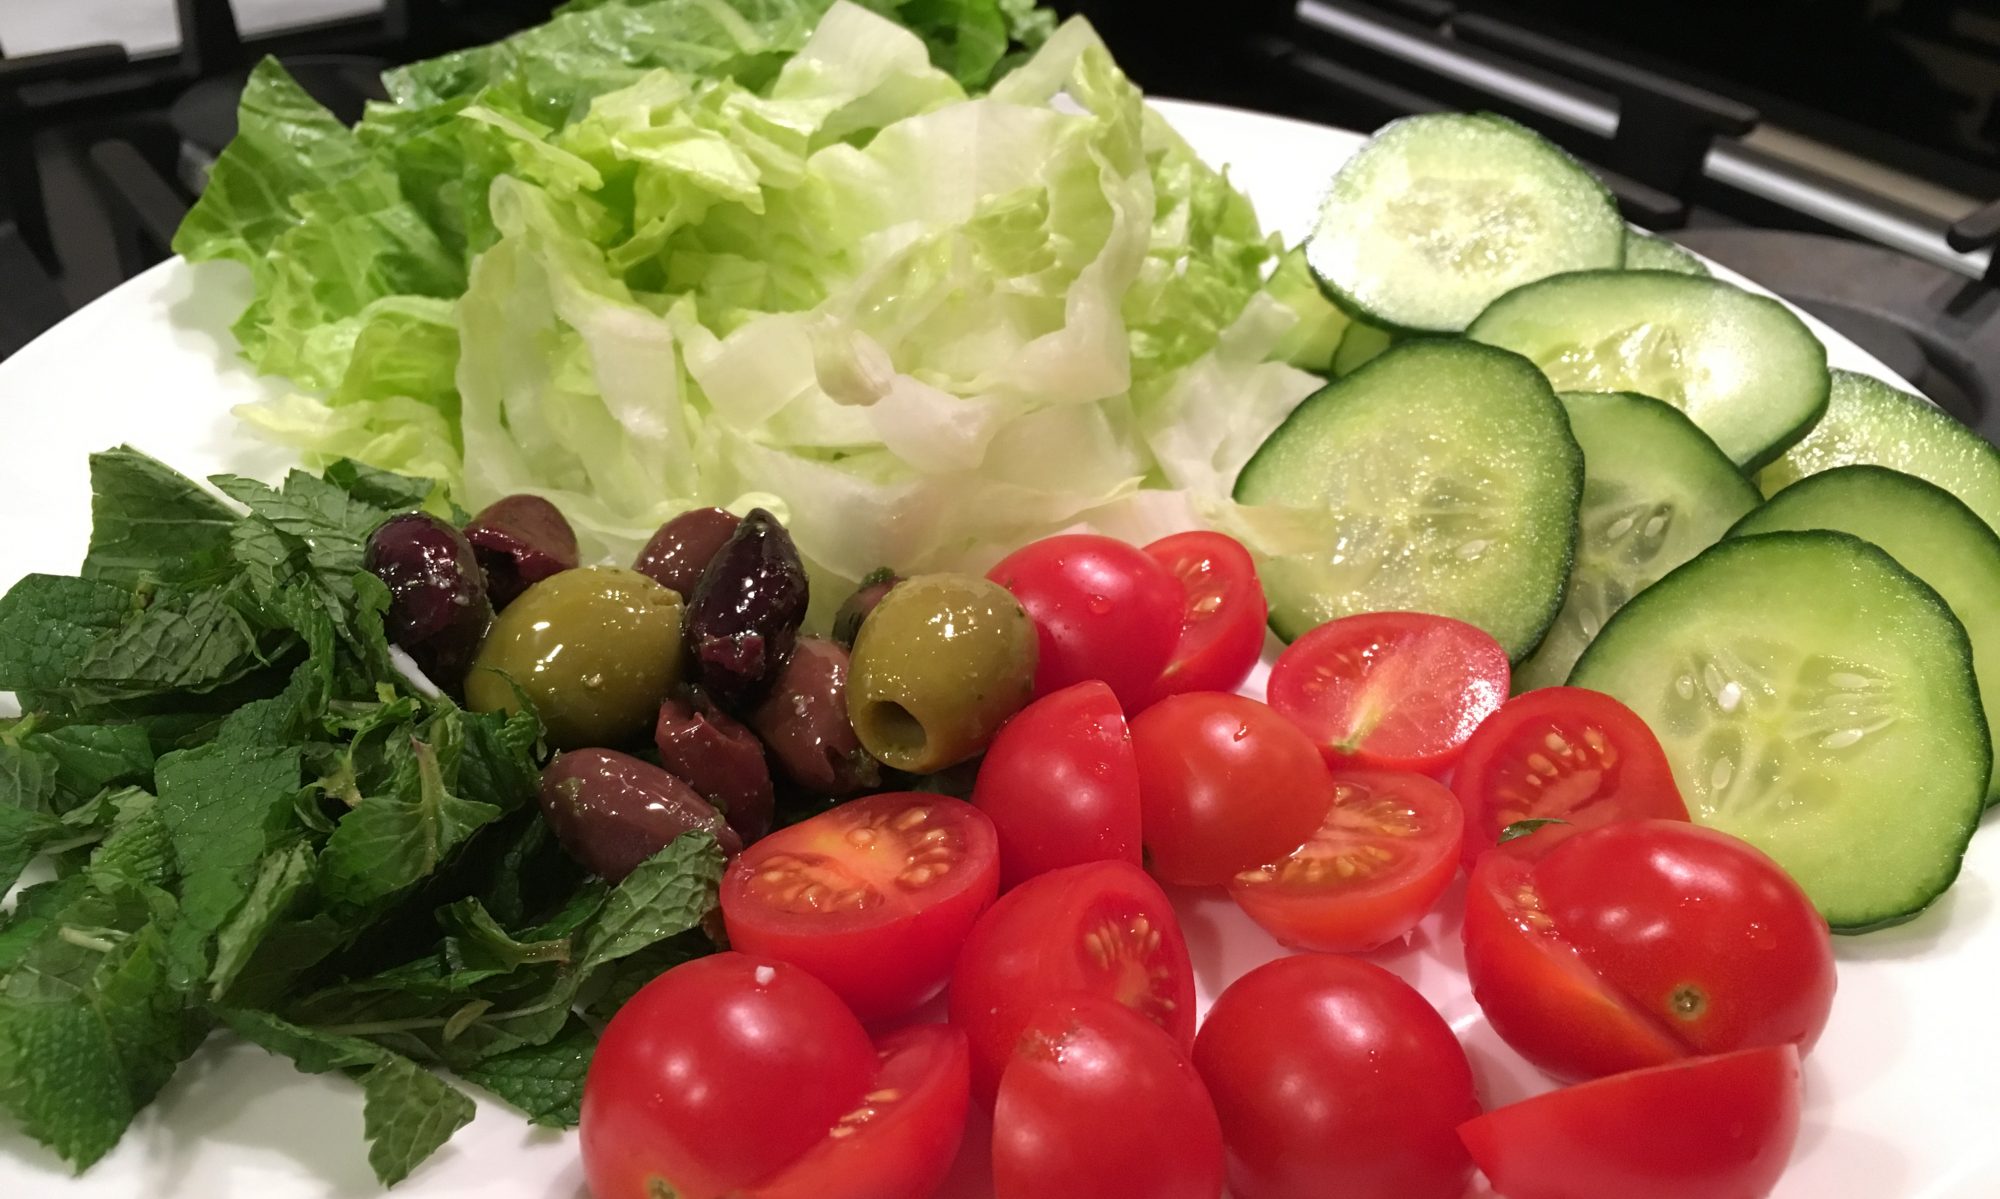
I accidentally had some raw spring onions in a salad which I ate at lunch time in one of the school days, and the spring onions sort of coated my taste buds.
I didn’t realise until we tasted a wine in the class after lunch and I couldn’t notice things that you notice with your tongue such as “buttery” or “creaminess”.
I could smell things, but my tongue was useless!
To give you an idea of the amount of distortion strong flavours can cause in your perception, we tasted what was meant to be an “outstanding wine” and to me it was just a “Good” wine, because I truly missed a lot of clusters and the intensity and finish seemed super subdued to me.
All I could taste for the rest of the afternoon was… spring onion.
In contrast, and very interestingly, I described quite well the other wine we tasted, because it was very aromatic, and my nose was totally fine, so I identified all the aroma clusters.
So try having something really plain for breakfast on exam day, and you can have all the spices and spring onions afterwards! 🙂
Another example of food-induced taste distortion was that the wine bar we went to for our tasting very kindly served us a platter of meat and cheeses half-way during the session. I had come prepared, and ate a plain croissant a while before the session, so my stomach wasn’t empty and I could withstand all temptations. On the other hand, my class mates arrived with an empty stomach and so when faced with a nice platter they couldn’t but get their hands on the food. And so they absolutely couldn’t notice a lot of the aromas and clusters I could!
Also of course it goes without saying, but I tried my utmost not to catch covid during the course! So using masks, avoiding busy closed spaces as much as possible, etc. And specially BEFORE the exam! You don’t want all the hard work to go down the drain in the last minute.
I have a bunch more of links and suggestions about the course in general, but I will keep them for another post as this one is, again, way too long already! 😇